Building Blocks of DIY Quadcopter: Introduction & Overview
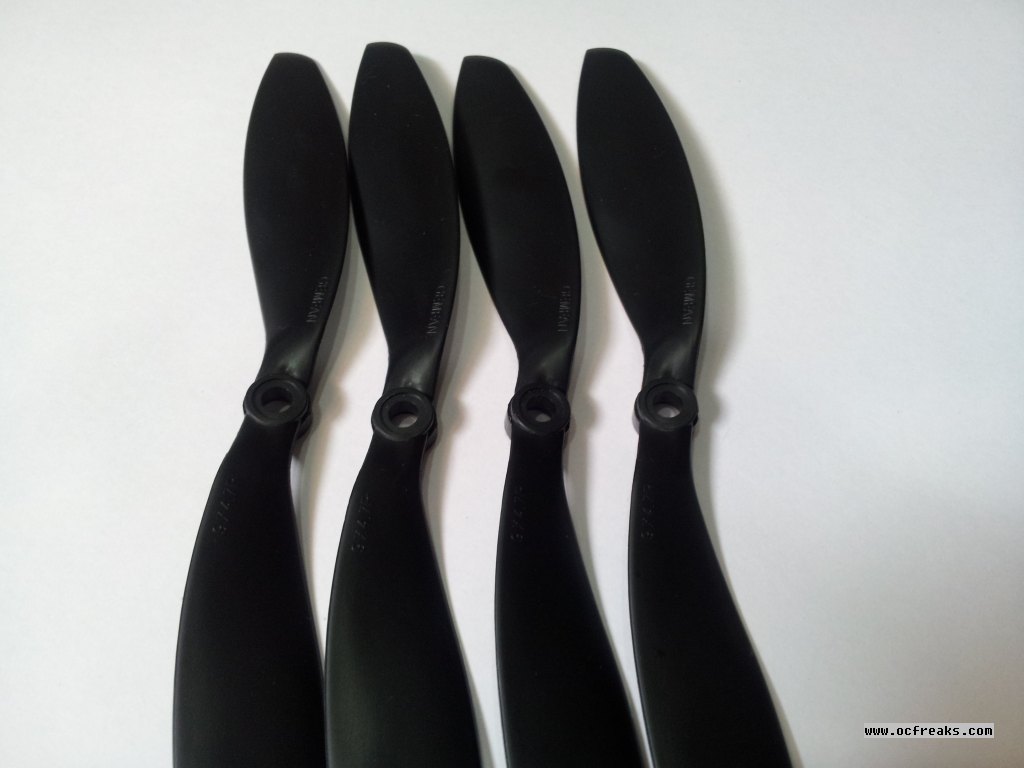
Lately I got involved into another DIY project – A Quadcopter. It was during my exams I got into this xD. And it was during my exams I started researching on Quadcopter. Plenty of information is available on the Internet on multicopters. I had decided on using 9×4.7 Propellers since its going to be a Mid-Sized Quadcopter. So , ordered some Clockwise and Anticlockwise Slow Fly Propellors.
Clockwise Props:
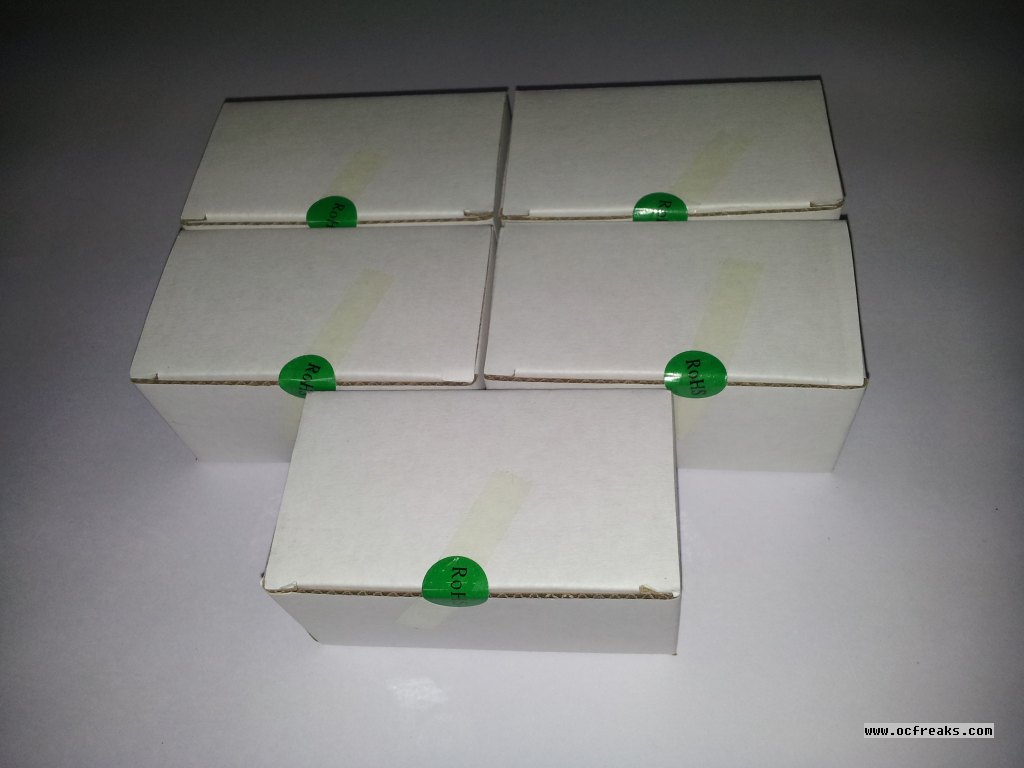
Also , what I found was that a motor having around 900 to 1200KV was a best fit for my project. KV is simply RPM per Volt. Like many others I too selected Turnigy 2215J-900KV Brushless DC Motor. The Quality and performance of these motors is top-notch considering the price. I ordered 5 of them from Hobbyking.
The package:
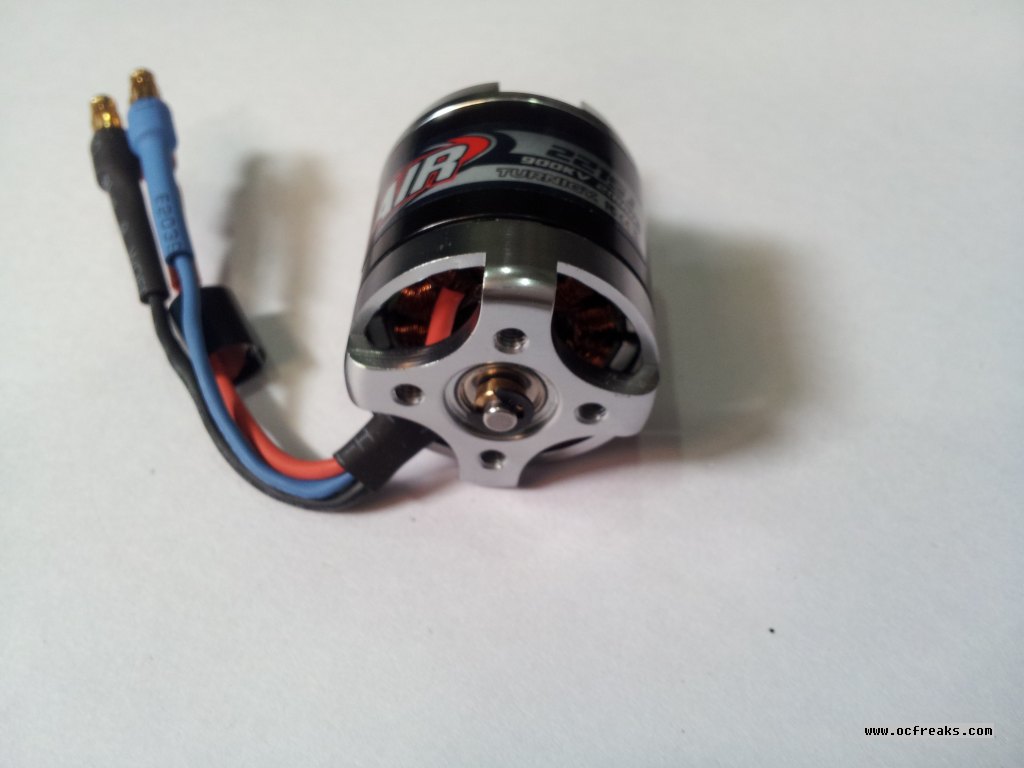
The motors:
Closeups:
Accessories:
Next was selecting proper ESC i.e Electronic Speed controller for these motors. As per the specs on Hobbyking these Motors draw upto 20 Amps at around 10-11 Volts. Most of the RC enthusisats select ESC which can handle around 5 to 7 Amps more than their Max requirment. Even I too Agree with this since Higher-AMP Rated ESCs will run much cooler so possibly will last longer. Its better to stay away with smoking ESCs. I selected HobbyKing Blue Series 30 Amp ESCs. I could have gone with 25 Amp ESC but the difference in price was very less hence decided to buy 30 Amp ones instead. Again like with the motors I ordered 5 of them.
Also ordered a Program Card suited for the ESCs I had ordered. Its sort-of necessary to change the ESC parameters for multicopters.
Ill be KK-Multirotor controller since I am a “First Timer”. Planning to use 4AH Lipo Battery for the Quadcopter but not fixed yet. First want a get a prototype ready which will be powered by a bench PSU which I generally use for my Hexapod and other stuff.
At this very moment I’m working on the Frame using Aluminum Extrusions and fasteners.