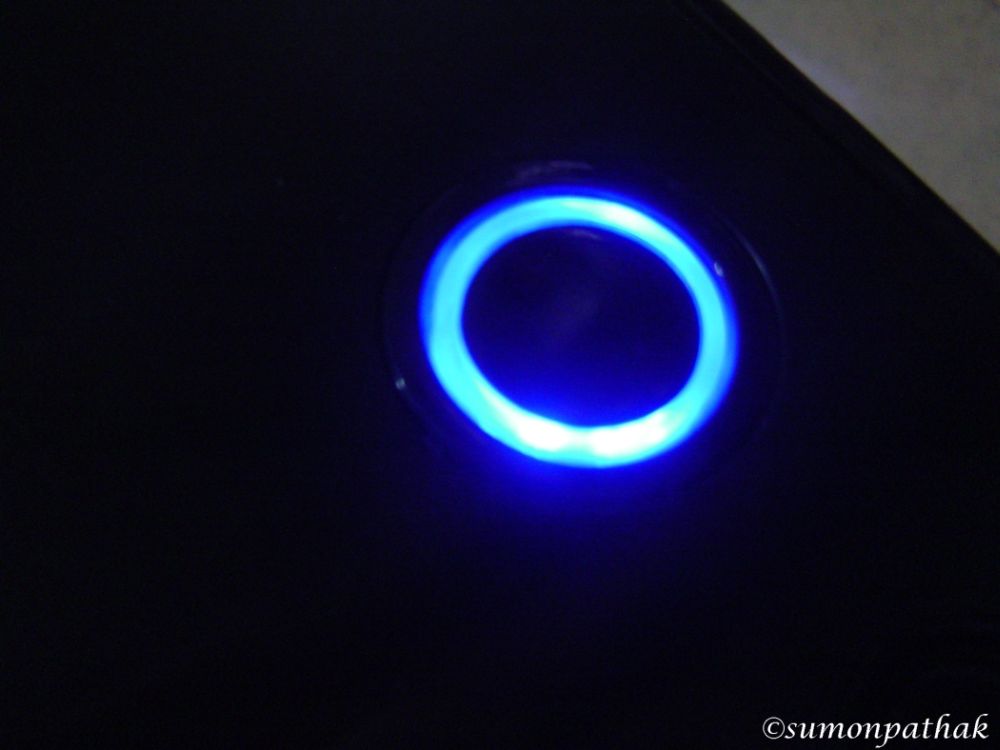
Well people today on the test bench we have a case in our test bench for review.
Here’s a sneak peek..the case is good.
A bit of disclaimer at first:The case is aimed at silent computing in an office environment.So more importance is given to better acoustics and sleek aesthetics.
Now since i don’t have a setup to measure acoustic performance i will try to make up for it by looking at other features.Please bear with me on these as i collect more money without robbing banks to create a more professional environment.
Now that out of the way let’s go on to the important stuff..shall we?
The case we have up for review is Antec SOLO II ; an update to the Antec SOLO case.
Some info about the company itself
Founded in 1986, Antec, Inc. is the leading global brand of high-performance computer components and accessories for the PC upgrade and do-it-yourself (DIY) markets. Antec pioneered this fast-growing category at retail and has quickly achieved a market-leading position in each country as our products have been introduced throughout the world. Antec has achieved equal success in the distribution channel meeting demand from quality-conscious system builders, VAR’s and integrators.
Now as said earlier the whole Sonata and SOLO series is focused towards Quite computing and as such they have specific features which enhances the acoustic performance of the Case,so expect a very quite PC if you are using one of these.
Specifications:
| Case Type | Mid Tower |
|---|---|
| Motherboard Compatibility | ATX,microATX,Mini-ITX |
| Drive bays | External 2 x 5.25″ Internal 3 x 3.5″ / 2.5″ using tray mounts OR 2 x 3.5″ using suspension mounting system 1 x 2.5″ dedicated |
| Cooling | 1 Rear 120MM True quite fan with 2 Speed switch. 2 Front 120MM(optional) |
| Maximum Graphics card size | 381 MM |
| Expansion Slots | 7 |
| Front Panel | 2 x USB 3.0 2 x USB 2.0 Audio IN/OUT Power Reset |
| Dimensions | 440mm(H)x205mm(W)x470mm(D) |
| Product Link | Link |
As always i will let the pictures do the talking and describe them as needed.

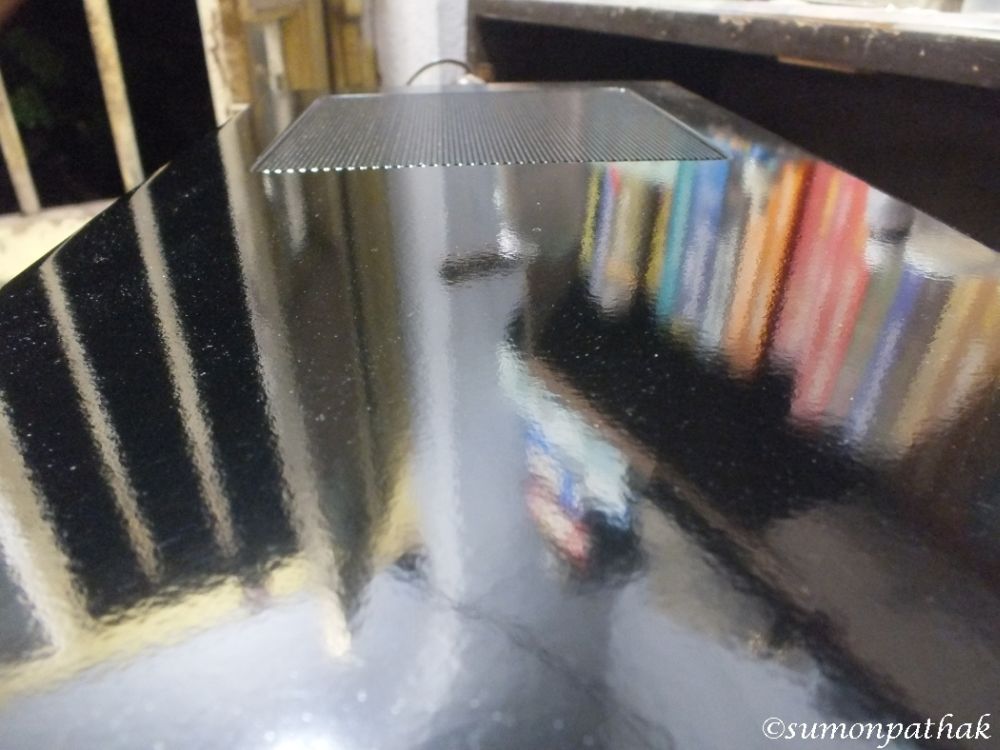
The case comes in all black with Glossy finish,and with Glossy finish means it’s a fingerprint magnet.The Antec Solo II is not free of these peril like any other Glossy finish case out there.
But if we forget the Fingerprints and all the cabinet looks too classy(i would love to keep this on my chamber,when i have one).
And please don’t mind the table that’s typical of a law student :P.
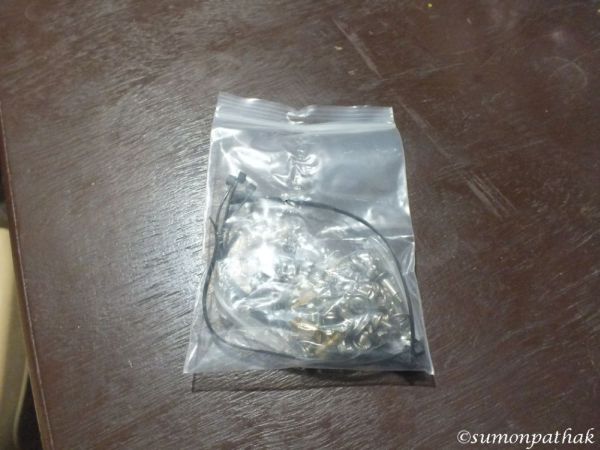

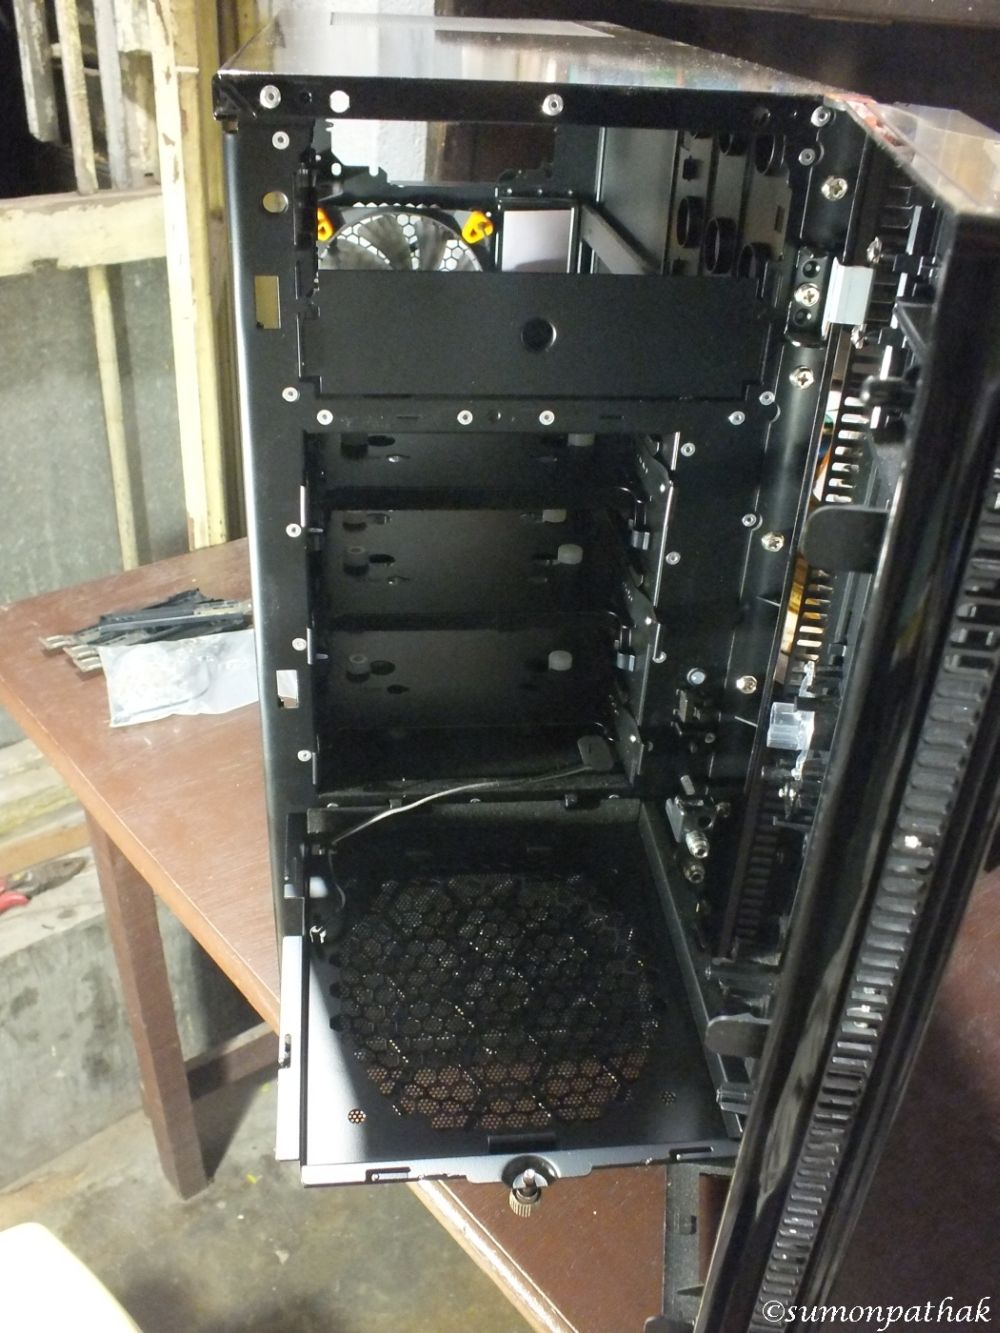
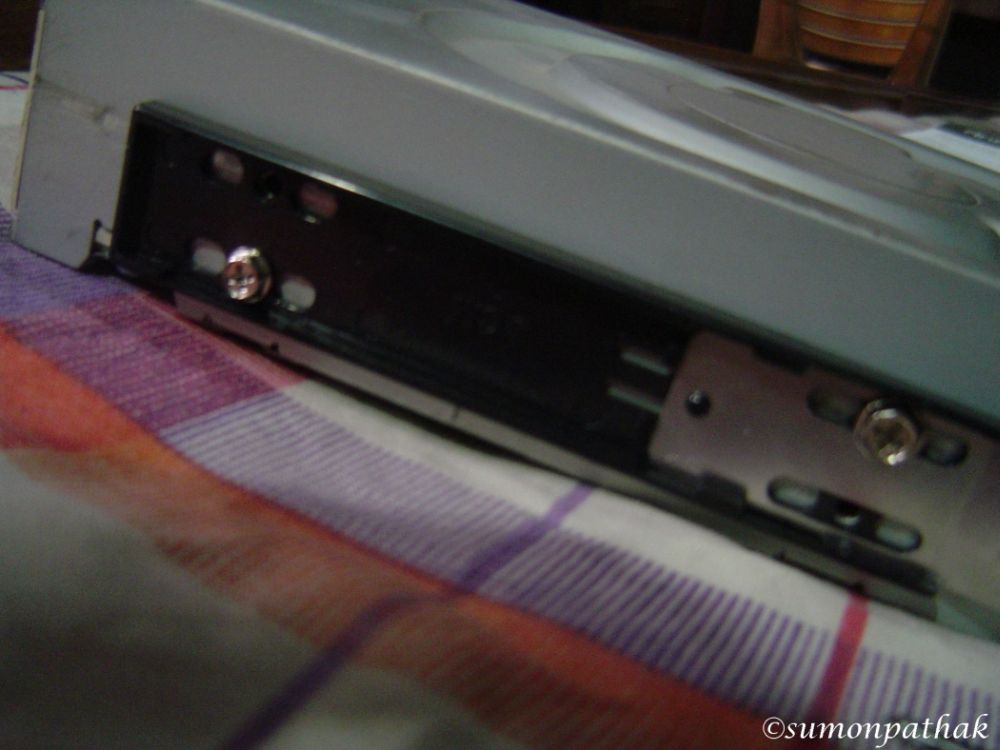
the second pic shows the brackets needed to install the 5.25″ drives in their respective places like people used to do in old days(as i have heard).
A few more shots of the case.
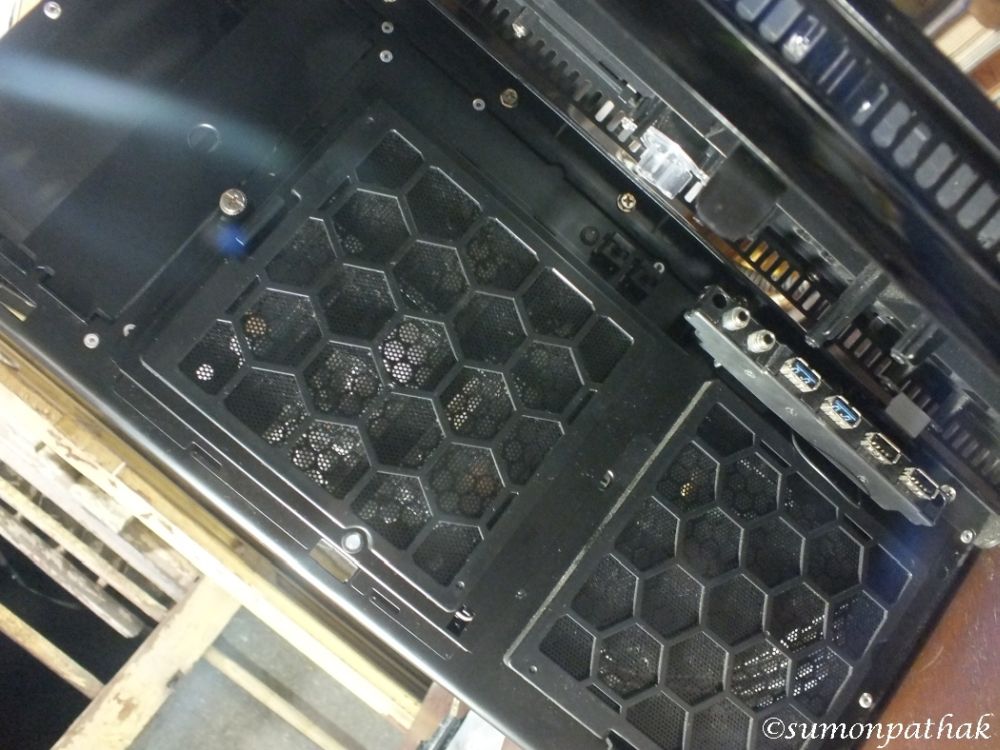
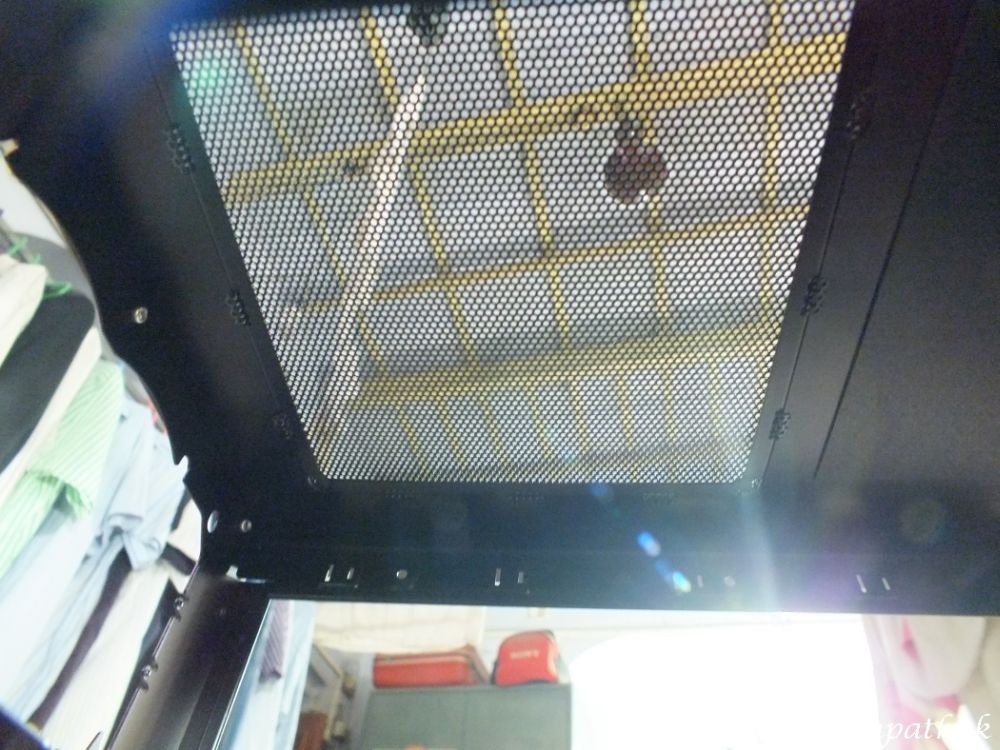
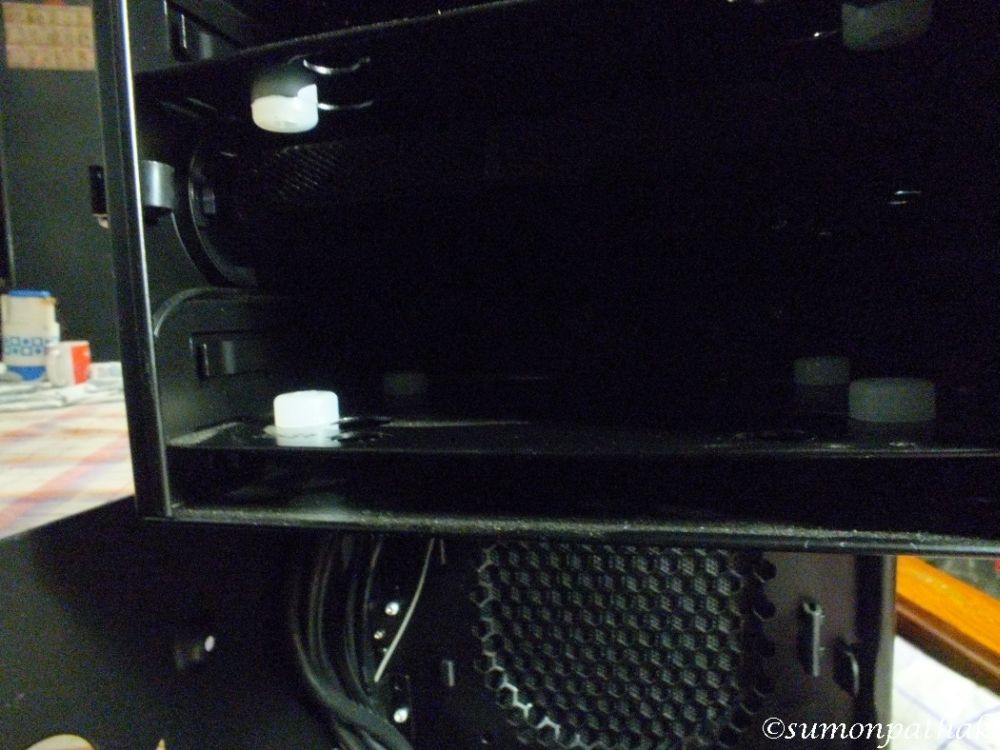
On the front side we see the places for 120MM fans with fan filters pre-installed which is a great touch in my opinion.The thumbscrew when opened gives access to the HDD trays.
Full frontal view
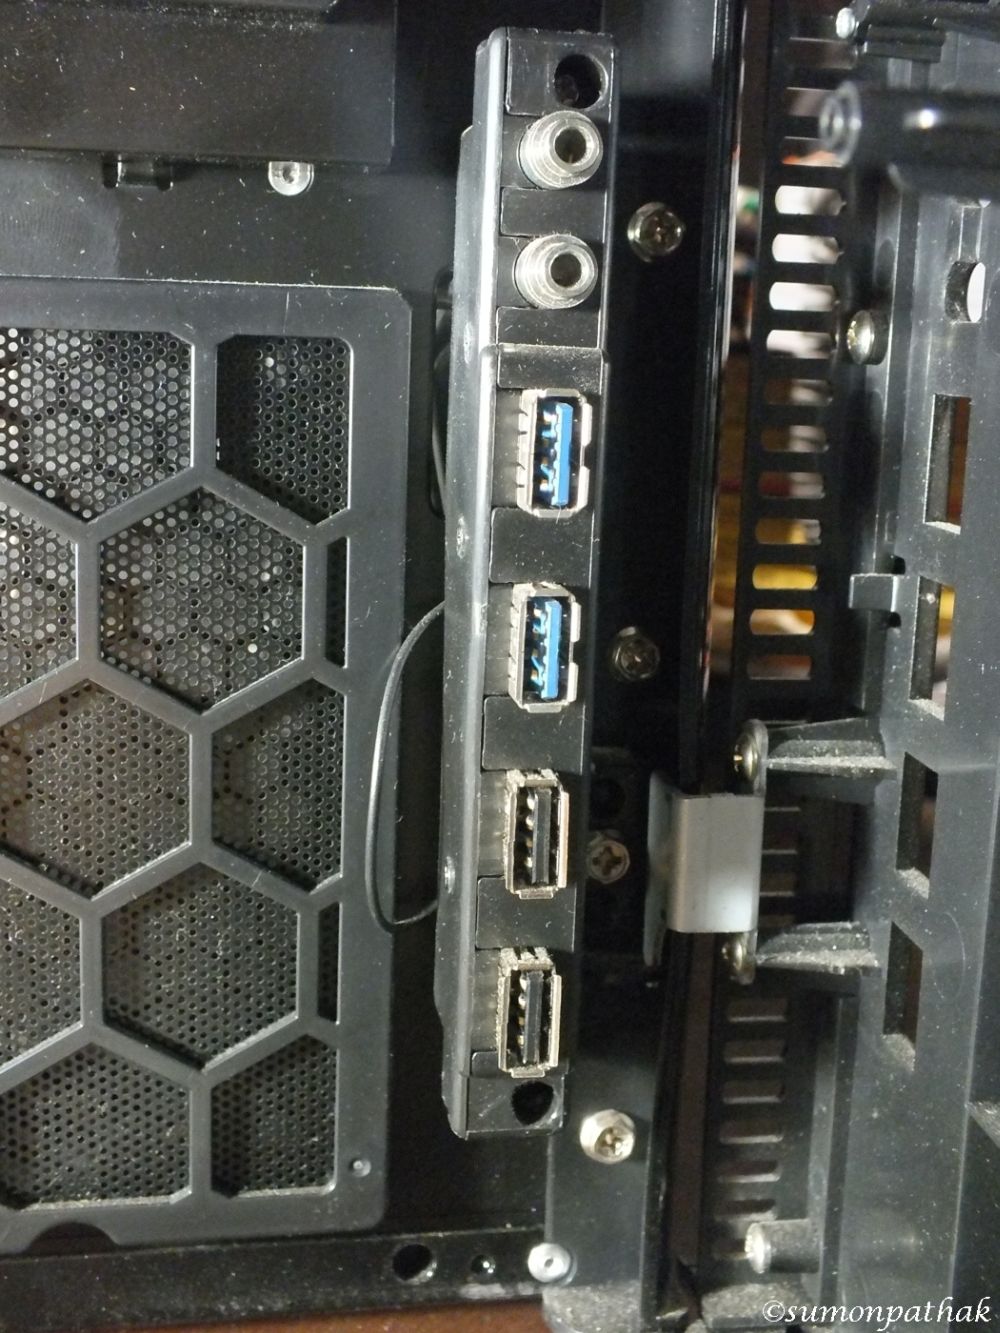
The front panel has ample connectivity option conforming with the most motherboard standards.
We have Audio IN/OUT ports,Two USB 3.0 Ports,Two USB 2.0 Ports
Now lets take a look at the back and whats inside
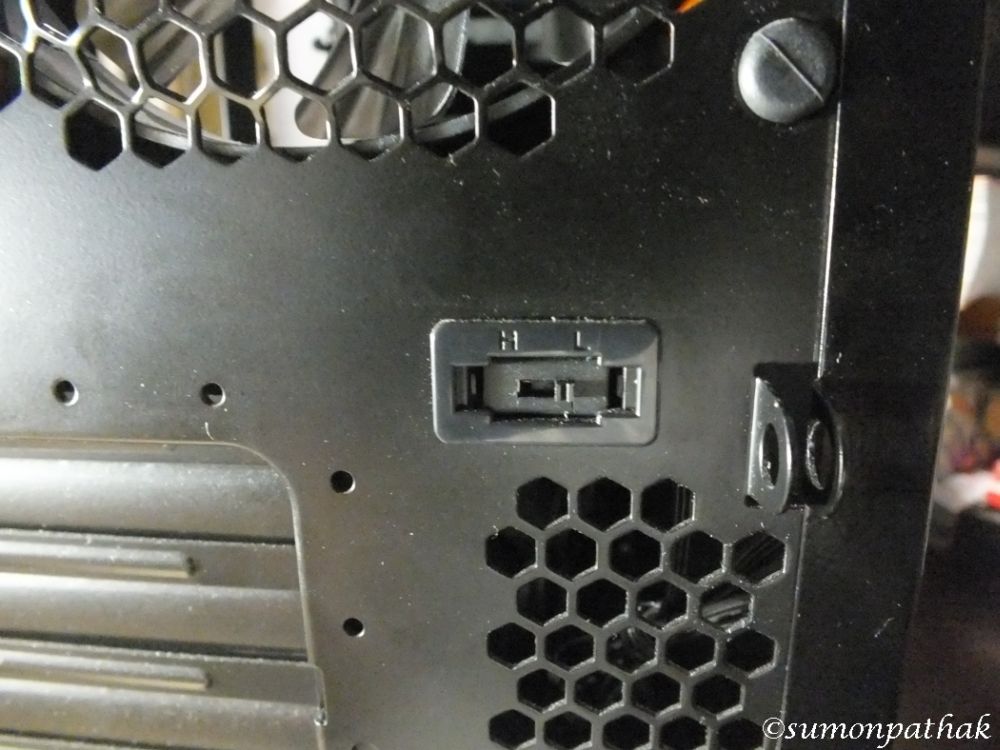
The back comes pre-installed with an ANTEC True Quiet Case fan with a two-speed switch for regulating the Fan speed.
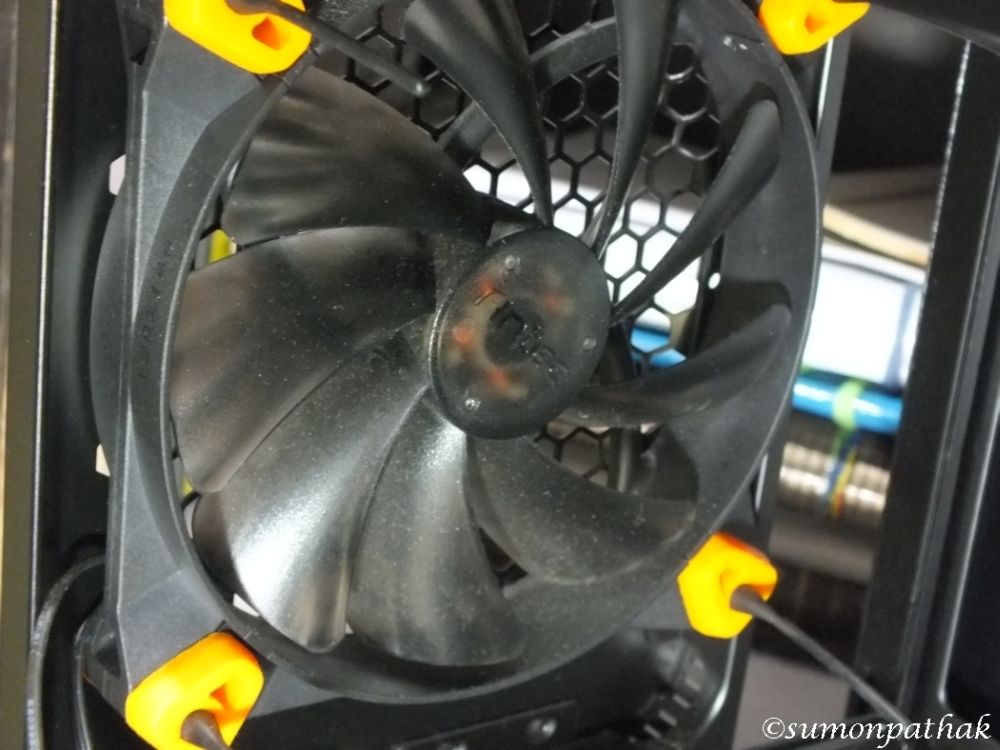
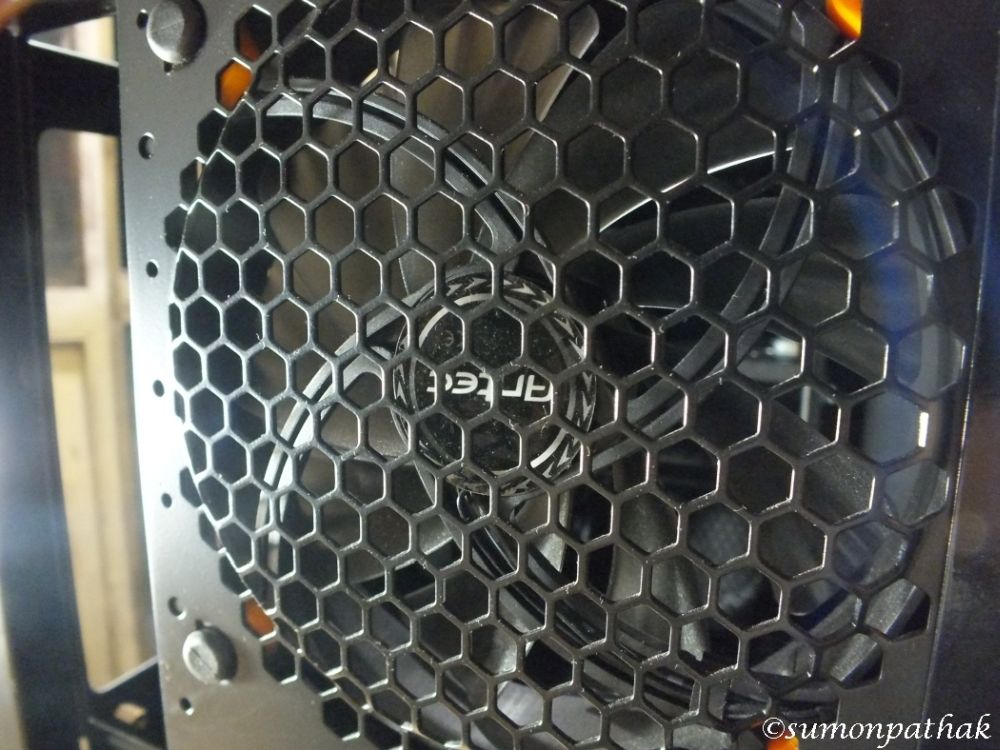
The fan is installed with rubber grommets to reduce noise.
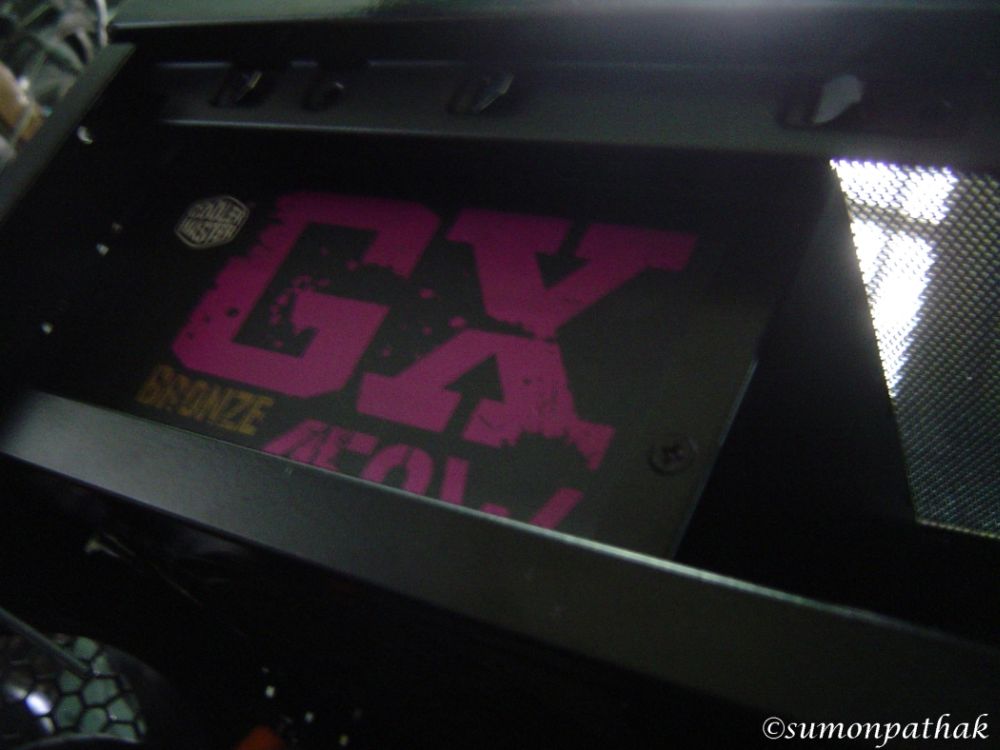
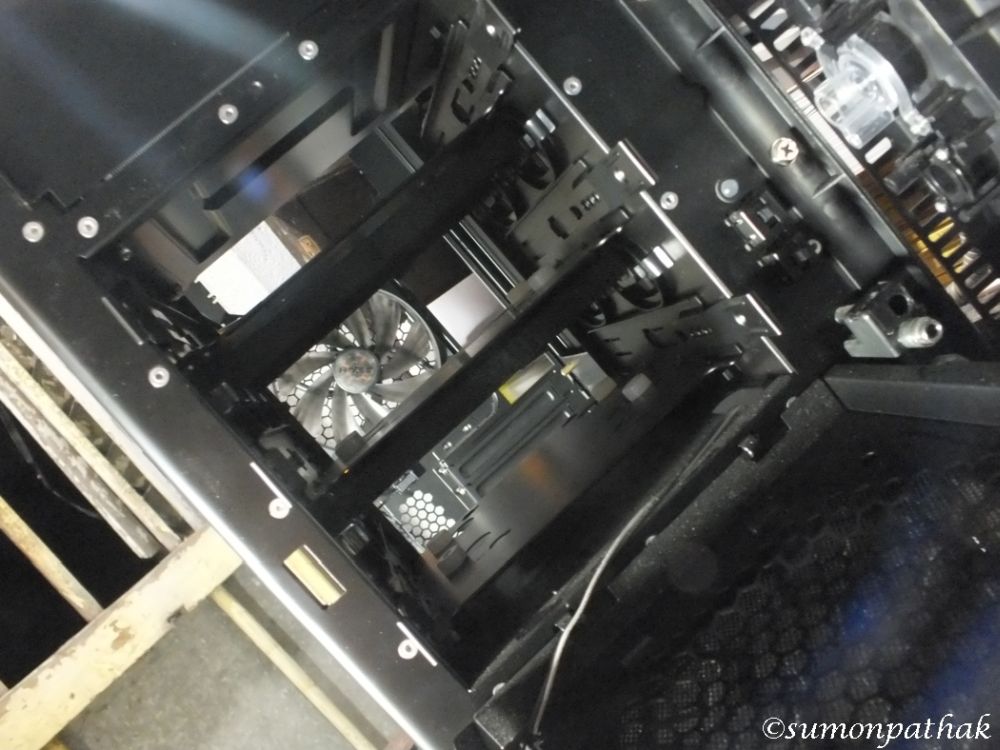
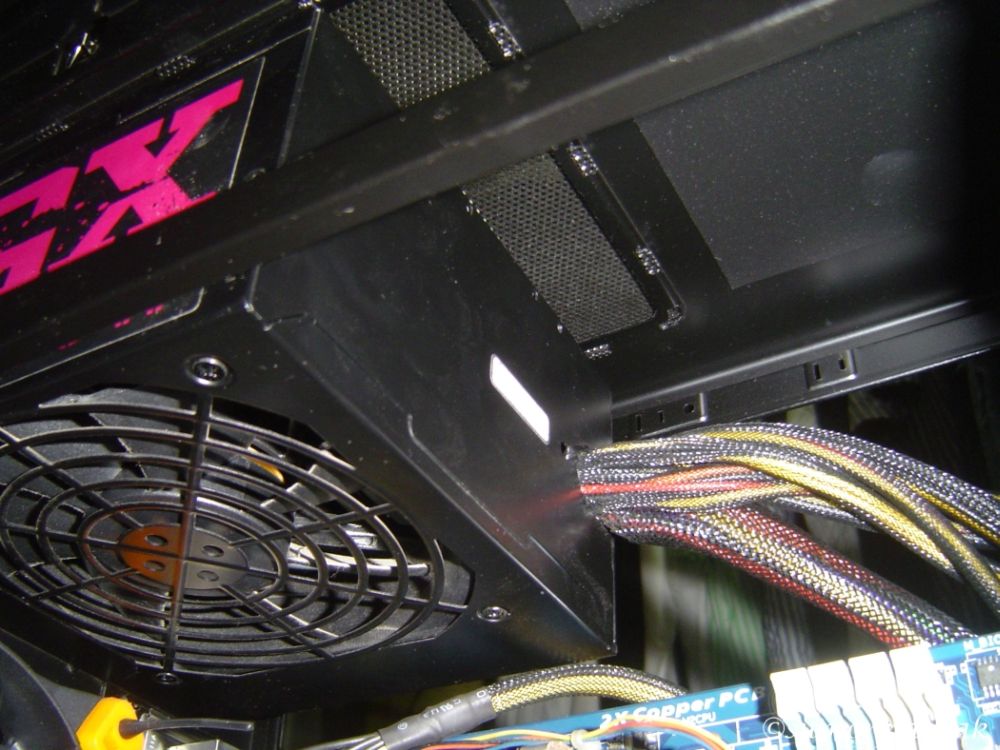
The PSU sits on the top in this case to make room for long GPU at bottom so Antec decided to strengthen the area with a set of PSU holding rails.Since i have my reservation against hanging anything on top of my Motherboard i decided to play it safe with a lightweight 450 watt PSU.
A few more pictures to wrap up the showcase.
One tip for anyone interested,Don’t bother installing that way if you use anything higher than Hyper 212.
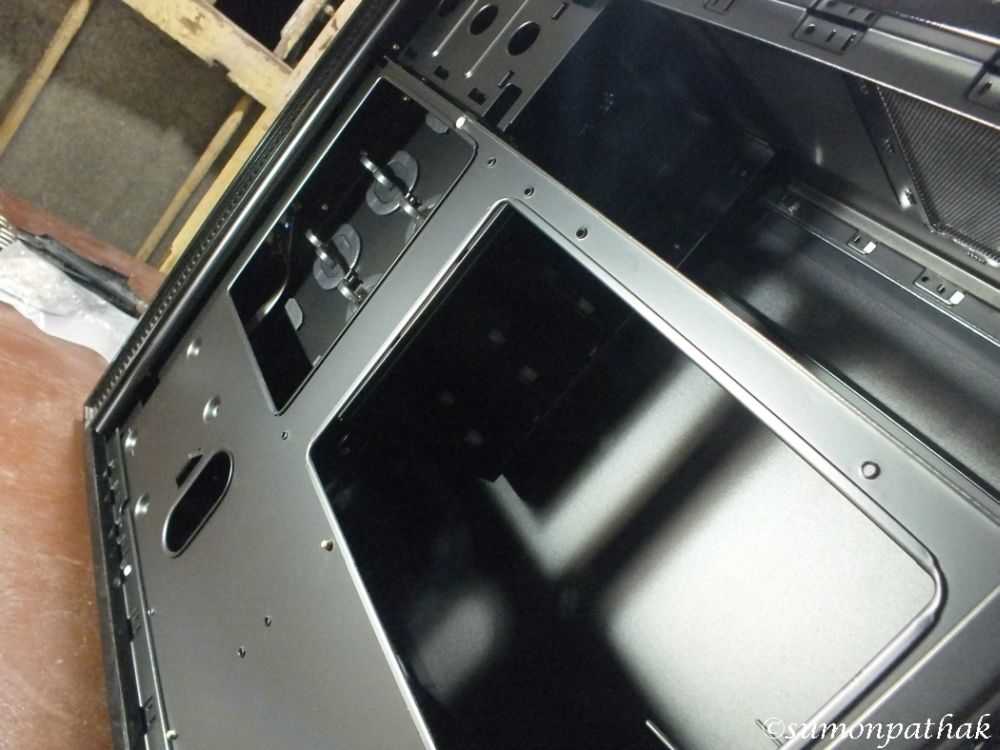
The space between the back-plate of the case and the side panel is too close for comfort,cable managements going to be tricky.
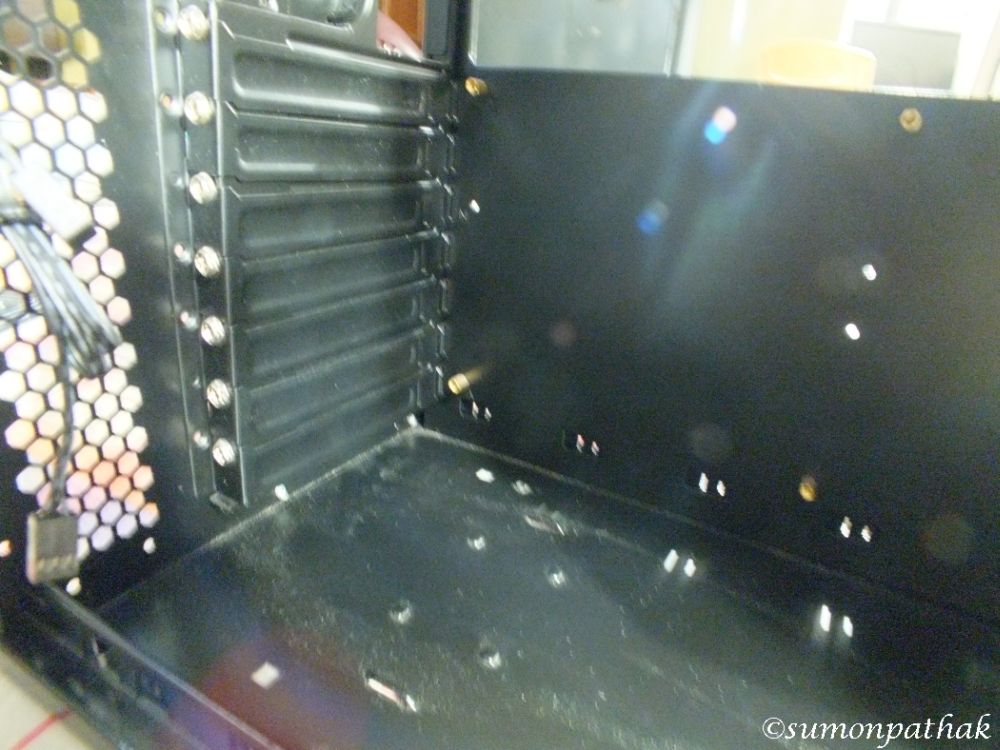
The hooks helps in cable management(at least they are supposed to do that.) and they do a somewhat good job of it.
So all in all we can say Antec has managed to cover up almost everything with this case.
Lets move on the System Installation and testing part..
The test system i chose for this review is a mid end system usually found in an office environment and homes.
the system includes
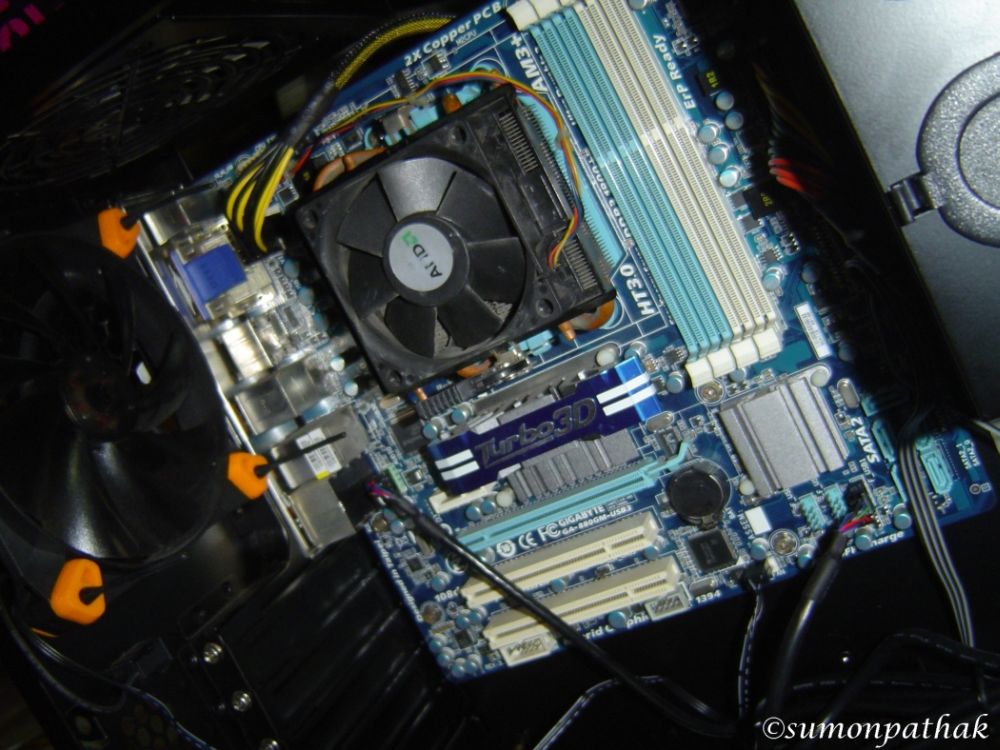
- Phenom II X4 965BE at stock and overclocked to 3.8Ghz
- Gigabyte GA 880GM USB3
- 2 x 4GB Corsair 1333 C9 Ram
- Sapphire HD 7850 overclocked to 100/1275 for the overclocked test
- GX 450W psu
Now many may question why i chose this system over my usual 2500K+Z68 combination.The simple reason being that you wont see that combo in the price range where this chassis fits,and frankly Phenom Quad core chips with a GPU like 7850 is quite formidable.Anyway..lets look at the number..shall we?
Installetion
First of all,system installation with this case is not tools less at all,almost every part has a screw attached to it..so it would be nice if the guys over at Antec include a nice screwdriver along with the package.
Secondly the absence of a manual doesn’t help the situation at all.A normal user wouldn’t know that you need to attach brackets at the sides of DVD writers to mount them into the chassis unless he has a manual.
So am hoping Antec would introduce the two things i mentioned in the package later on.
Anyway let’s have a look at the installation pictures that i took and i hope this will help anyone who is finding it difficult to install a system into this case.
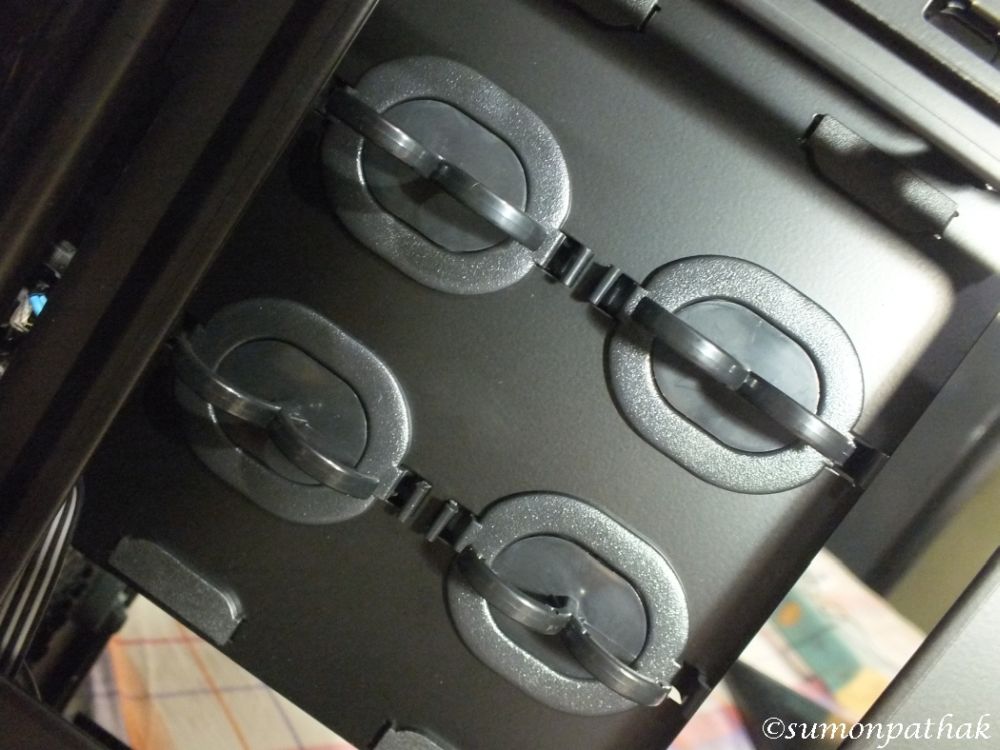
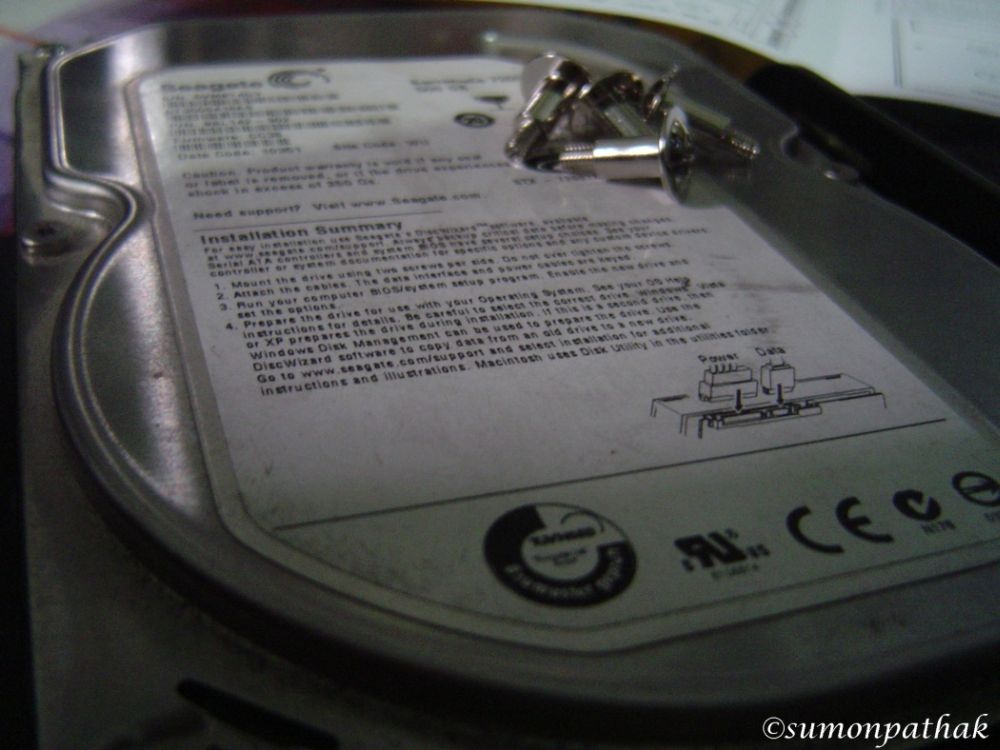
The HDD can either be suspended on the suspension system or can be mounted on the silicone standoffs with the help of the long screws provided.
The PSU is firmly held in place by a strong rail which i looks like it can take some weight but i didn’t take chance with my regular PSU.Call me paranoid but better be safe with my hardware.
All in all installation was somewhat easy for me since i never go tool less.
Hers how the case looked after i finished.
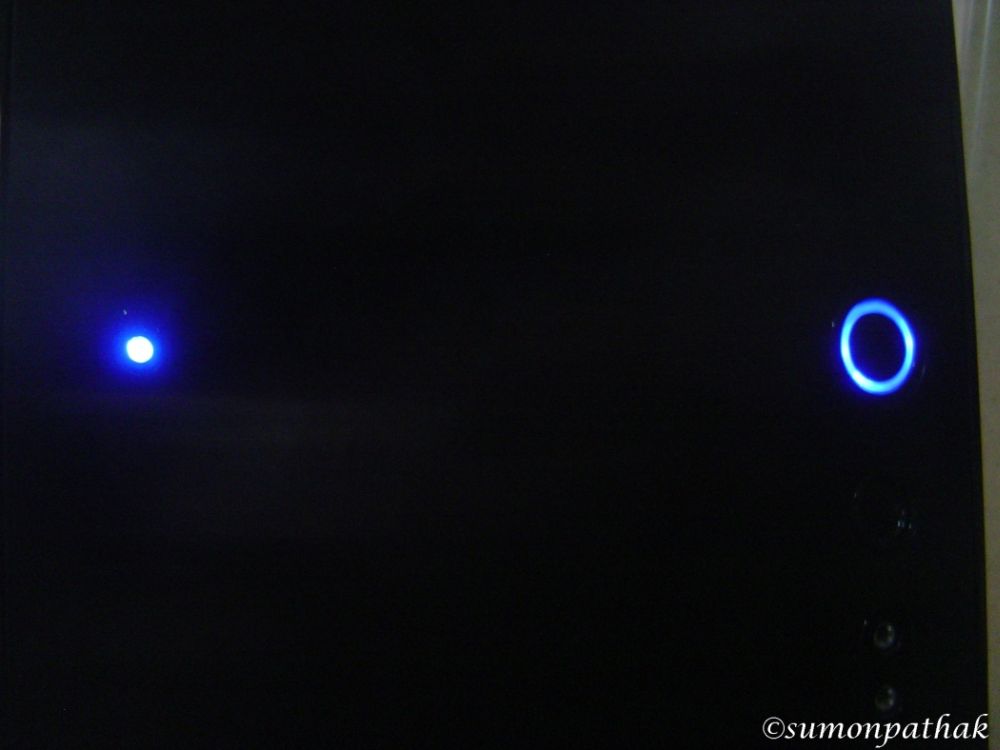
One thing though the case looks stunning when its running and even with the CPU stock fan running at 3500 RPM hardly anything came outside.So thats a thumbs up from me.
Thermal Testing methodology
For thermal testing i ran Prime 95 for 15 minutes on all cores(IN place Large FFT’s) and recorded the temperature after every run.The average of 3 runs were taken into account.The included fan was set to full.
All temperature readings are in degree Centigrade.
Ambient temperature being 17 degree centigrade,
Stock Performance
| CPU idle temperature | 25.7 |
|---|---|
| Motherboard temperature | 41.8 |
| GPU temperature | 37 |
Overclocked Performance
| CPU idle temperature | 49 |
|---|---|
| Motherboard temperature | 46.2 |
| GPU temperature | 49 |
the temps are too close for comfort for me.But since the case focuses at acoustic performance rather than good thermals we have to live with the tradeoff.The gamers could really use one more fan in the package.
Writing the conclusion of this review am left with mixed feeling.I like quite a few things in this cabinet and am kind of disappointed with lack of few things.
Pro’s
- Excellent Acoustic performance
- Excellent styling
- Good feature-set all around.
Con’s
- Lack of manual in the package will create problems.
- Only one fan included in the package so that means anyone wanting good thermal performance will need to purchase case fans separately.Atleast one more Fan in the package would be appreciated by all.
- Lack of space behind the motherboard tray makes cable management tedious.
- Price is a tad bit higher.
So all in all there are some tradeoffs in this cabinet but if the design team comes up with solution to the problems i pointed out this cabby will be a strong contender in the market.
From my side i give it 3 out 5;definitely suggested for anyone looking for a sleek and nice case with good ratings.
signing out
Sumon Pathak