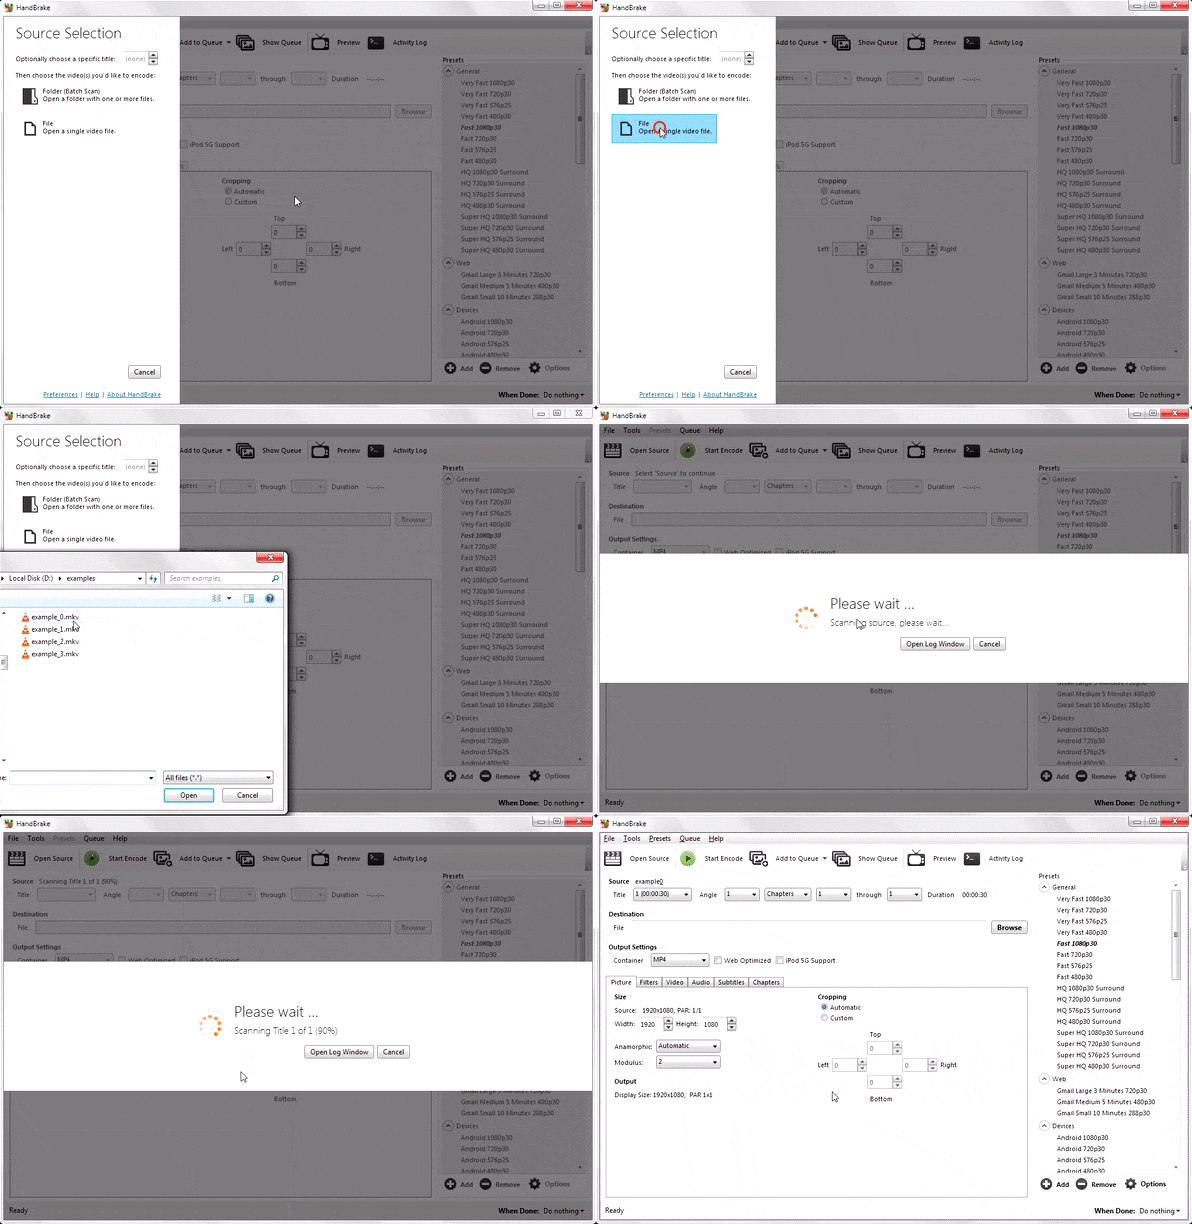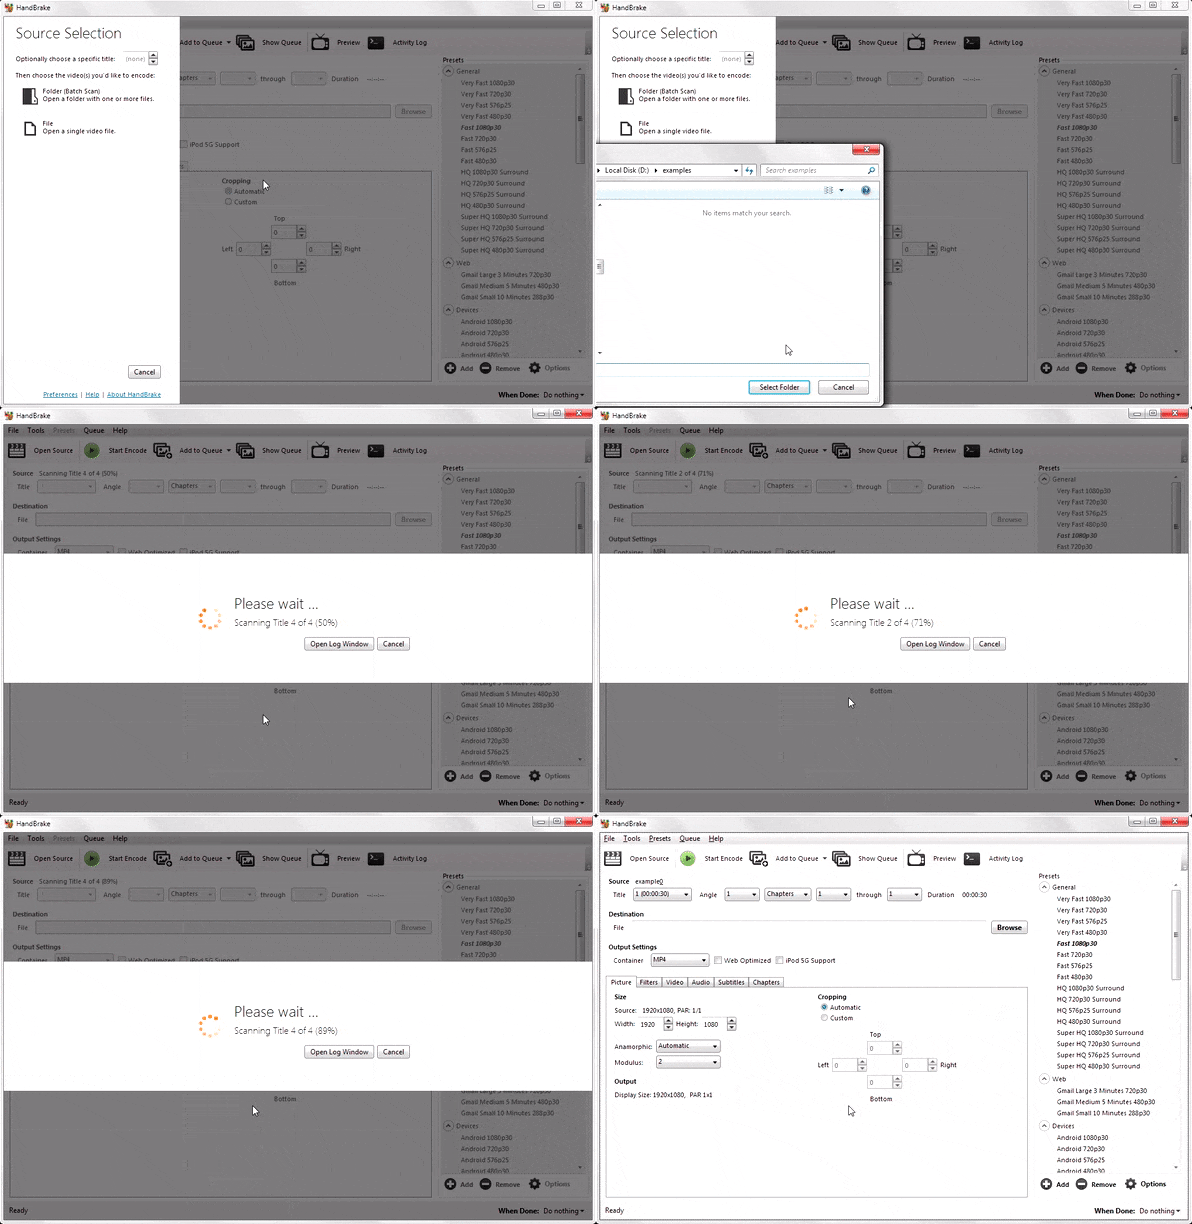
Hi folks. In this step-by-step tutorial, I will show you how to compress videos using the free open-source tool Handbrake. This can prove especially useful to those who want to store lots of videos in devices with a limited storage capacity. Storing uncompressed large video files on such a device isn’t logical and is IMHO, downright stupid. This tutorial will get you acquainted with Handbrake and how you can use it to reduce the file size of large videos in a few minutes. You can download Handbrake from here. The detailed explanation of all the settings used in this tutorial can be found in my other articles on Handbrake(Links given at the bottom).
Without further ado, lets get started:
Step 1: Open Handbrake
Step 2: Importing Source File(s)
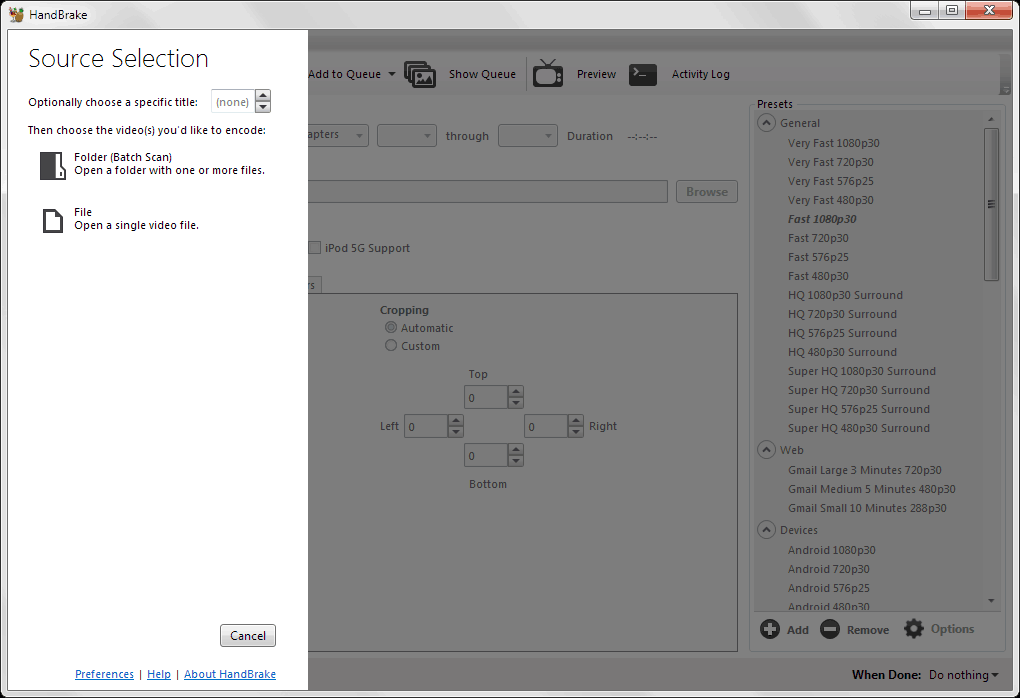
Import your video files to transcode by either dragging and dropping the file or clicking on “File” and navigating to the desired path. To batch encode all videos in a particular folder, click on “Folder” and navigate to the desired path. Select “MP4” container.
Step 3: Picture Settings
 In the Picture tab:
- Select Anamorphic “Loose” and Modulus “2”.
- Choose your desired Video Width. For mobile devices, I recommend a max resolution of 720p, which translates to a width of 1280 pixels for my input file (big_buck_bunny_1080p_h264.mp4).
- Check Cropping “Custom” and make all values 0, if you don’t wish to crop your video. Or check “Automatic”, whichever works for you.
Step 4: Filter Settings
 In the Filters Tab:
- Select “NLMeans” Denoise with preset “Ultralight” and Tune “None”.
Step 5: Video Settings
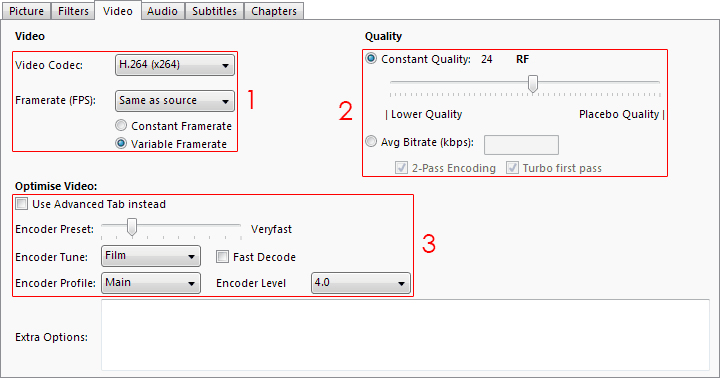 In the Video Tab:
- Select Codec “x264”, Framerate “Same as Source” and check “Variable Framerate”.
- Check “Constant Quality” and keep the RF Slider between 21-25, no more, no less. I recommend using 24 for mobile devices.
- Keep Encoder Preset Slider to “Veryfast”, and select Encoder Tune “Film”, Encoder Profile “Main” and Encoder Level “4.0”.
Step 6: Audio Settings
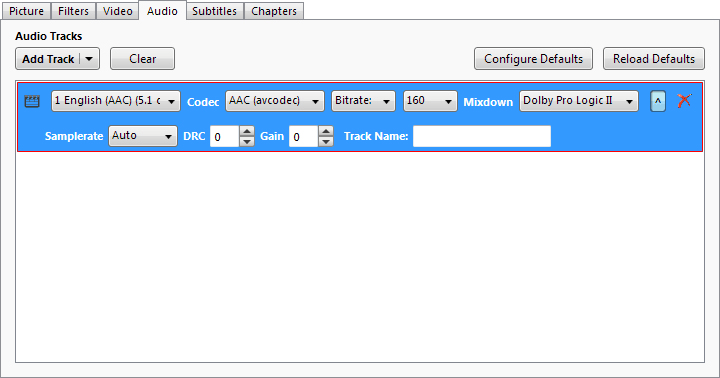 In the Audio Tab:
- Select Codec “AAC (avcodec)”, select “Bitrate” and keep it to 160 or lower for mobile devices.
Step 6: Adding Subtitles
 In the Subtitles Tab:
- Add or remove Subtitles as per your wish.
Step 7: Finally, click on “Start Encode”
Step 7.1 (Optional): Get some coffee while your CPU does all the heavy lifting and compresses your video files & converts it to MP4 format!
For a more comprehensive, detailed and in-depth explanation of all the Handbrake settings, visit the following links:
- Handbrake Complete Tutorial Part 1: How to Transcode & Compress Videos
- Beginners Guide to Video Redundancies
- Handbrake Tutorial Part 2: x264 Advanced Encoding & Compression Settings Guide


